Which strength and conditioning workout is best? I am about to put the cat against the pigeons here…because there isn’t one. If executed correctly, every strength and conditioning workout will be as good, as appropriate, as specific, and as effective as all others.
The problem is the number of occasions when this idyllic scenario doesn’t happen.
According to ‘thestrengthandconditioningcoach.com’ Strength and conditioning, hereafter abbreviated to S&C, is…
“the practical application of sports science on athletes working towards developing;
1 – An athlete’s speed, strength, and power through the use of various training principles,
2 – A structured, detailed training programme that makes use of times throughout a seasonal cycle whereby functional-overtraining, tapers, and rest can all be strategically used to optimise the athlete’s performance”
If you are a personal trainer, you would be forgiven for thinking that this sounds familiarly similar to personal training. And it is. Very similar. But not the same. A Transit Van is similar to a Ferrari. But not the same.
I am not disparaging personal training in the slightest because it has been my bread and butter for the last 16 years, but continuing my vehicle analogy, personal training is a generic workhorse that keeps the vast majority of the population ticking over, whereas strength and conditioning is a specific racehorse that keeps the minority of the population in world-class condition.
Similar, but different.
Although there are huge crossovers, there are also major differences which lay mostly within the minor nuances that are the difference between a couch potato and a casual gym-goer, between a casual gym-goer and an amateur athlete, between an amateur athlete and a professional athlete, and between a professional athlete and a world-class athlete.
Almost all of the time, personal training is generic, and for obvious reasons. During their daily lives our clients will have a varied mix of squatting, hinging, pushing, pulling, rotating, carrying, reaching, moving, stabilising, and much more. They could be performing any of these movements in random combinations either on their feet, on their knees, on their back, on their front, on their side. They could be doing them on one leg, or two, with one arm, or two. They might have a load, they might not. The number of potential boxes to tick to help clients find their daily lives easier to endure is infinite.
But S&C has to be more specific to be effective. Success and failure within the world of professional sport are dictated by inches and milliseconds, so an S&C Coach must learn to take something as generic as a squat or a deadlift, and be able to prescribe them in very specific ways for very specific reasons.
Similar, but different.
Before looking at some practical stuff, it is important to point out that an S&C coach will only benefit from developing the delivery and interpersonal skills of a personal trainer and a personal trainer will only benefit from developing the prescription and specificity skills of an S&C coach.
As a personal trainer, being able to provide a more effective service, to a wider audience, is only going to have a positive impact financially.
Here is a taste of the detail required for some familiar exercises:
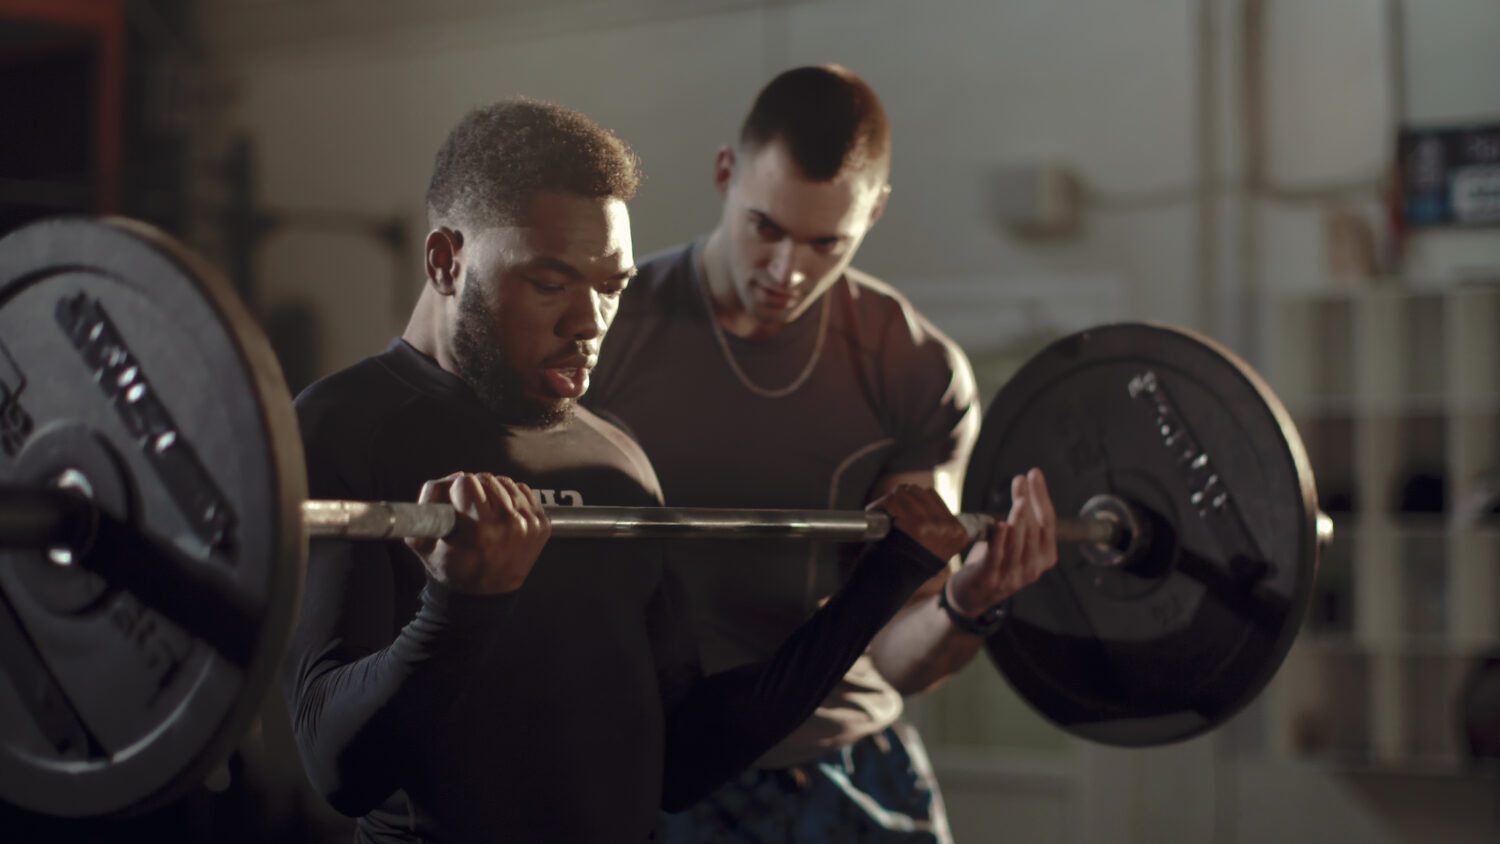
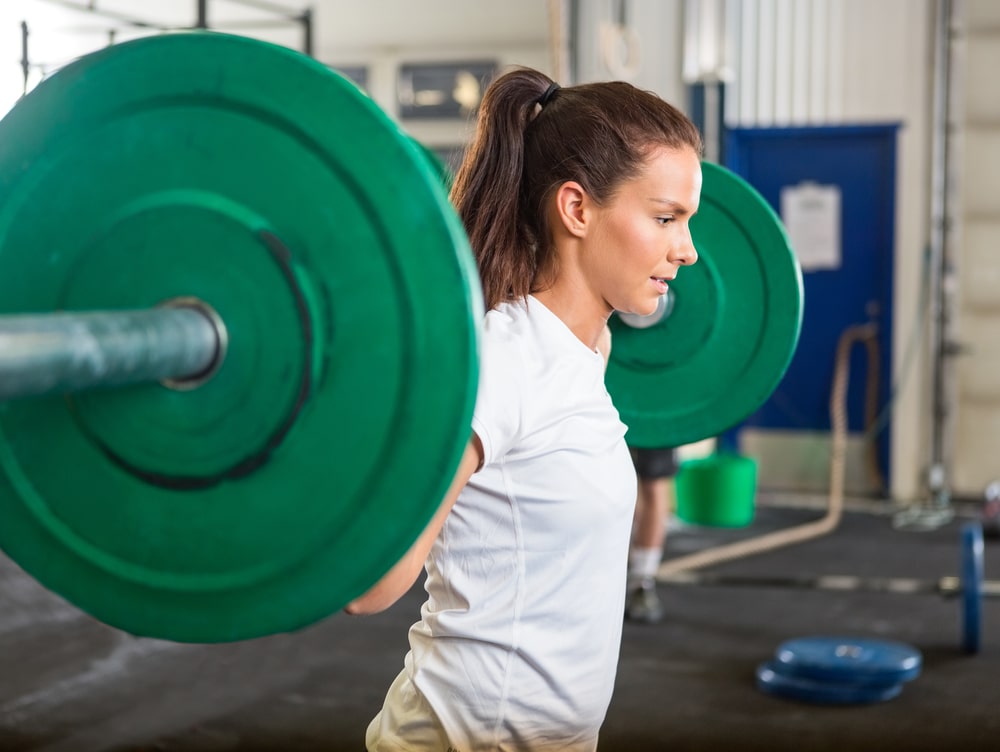
Back Squat
The back squat exercise is often a cornerstone in any athlete’s training programme and is fundamental to developing lower body strength. In order to achieve a full range of motion, there is a high mobility requirement at the hips and ankles; therefore, the back squat also enables mobility improvements in these key joints when trained over time. Given the strong association between maximal lower body strength and acceleration, speed, and rate of force development, the back squat is a foundation exercise for any performance-orientated training programme.
1. Equipment set-up
Squat rack bar supports are set below shoulder height so that the bar can be collected in a strong quarter squat position
Clips or collars are used with bumper plates
2. Collecting the bar
Facing into the rack, place hands around the bar in a claw grip, equidistant from the centre and just outside shoulder width
Keeping a strong grip, move in underneath the bar so that the hips and knees are flexed in a quarter squat position with feet approximately hip to shoulder-distance apart. The bar is now resting evenly across the upper trapezius muscle, below the prominent C7 vertebrae
Stand upright extending the hip, knee and ankle to lift the bar clear of the rack and step backwards away from the uprights
3. Start Position
Heels should be shoulder-width apart and feet pointed out slightly
Hips and knees are fully extended with the whole body upright. The gluteus maximus, quadriceps and muscles of the trunk are braced under the load
A ‘pulling down on the bar’ facilitates thoracic extension, scapula retraction and depression – the elbows should remain underneath or slightly behind the bar
4. Descent
Inhale and brace the trunk, then flex the hips and knees simultaneously, lowering the barbell under control
Knees should track in the direction of the feet and the weight should move from mid-foot towards the heels
The trunk should remain as upright as possible throughout the movement with a normal lumbar curve evident in the back
5 Bottom Position
The bottom position is reached when the midpoint of the hip is just below the midpoint of the knee *
The trunk should be as upright as possible with a normal lumbar curve evident
The weight should be towards the heels
* When participants cannot achieve full depth, coaches should encourage them to squat as deep as is manageable, maintaining an upright trunk position with natural lumbar curve. Knees track in the direction of feet and weight distribution through the heels
6. Ascent
Drive through the heels to return to the standing position
The trunk should be as upright as possible throughout the movement with a normal lumbar curve evident in the back
Knees should track in the direction of the feet, with equal weight distribution on both feet
Exhale at the top of the lift
Pause in the top position, inhale and repeat for the required number of repetitions
As participants gain confidence and experience in the lift, the intention will be to make the ascent increasingly explosive in intent
7. Racking the bar
Keeping the grip on the bar constant, walk into the rack, position the feet bilaterally and then lower carefully into the bar supports in a strong quarter squat position
Release and step out from underneath the bar
Common errors:
Bar set at an inappropriate height
Excessive forward trunk lean
Stance width too narrow or too wide
Spinal flexion
Poor knee alignment
Poor range of motion
Asymmetrical movement
Phase
Joint
Joint Action
Major Muscles
Contraction
Downward
Hips
Flexion
Gluteus maximus
Eccentric
Hamstrings
Eccentric
Knees
Flexion
Quadriceps
Eccentric
Hamstrangs
Eccentric
Ankles
Dorsiflexion
Gastrocnemius
Eccentric
Soleus
Eccentric
Scapula
Retraction
Rhomboids
Isometric
Trapezuis
Isometric
Trunk
Trunk alignment
Erector spinae
Isometric
Rectus abdominus
Isometric
Obliques
Isometric
Upward
Hips
Extension
Gluteus maximus
Concentric
Hamstrings
Concentric
Knees
Extension
Quadriceps
Concentric
Hamstrings
Concentric
Ankles
Plantarflexion
Gastocnemius
Concentric
Soleus
Concentric
Scapula
Retraction
Rhomboids
Isometric
Trapezuis
Isometric
Trunk
Trunk alignment
Erector spinae
Isometric
Rectus abdominus
Isometric
Obliques
Isometric
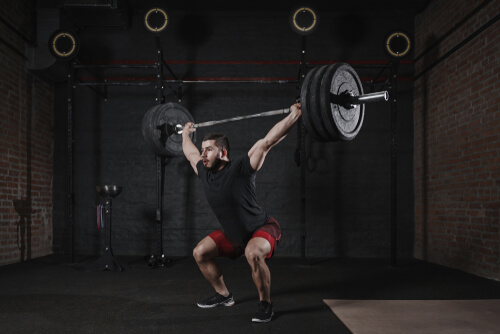
Overhead Squat
The overhead squat is commonly used as a tool to gain an impression of movement quality during screening protocols because it challenges the mobility of all key joints in the kinetic chain. Similar to other squat exercises, it develops strength and mobility for the lower body, but it will also improve thoracic spine mobility and shoulder stability with the load positioned above the head throughout. As an additional benefit, this exercise teaches the position required for the catch phase during the snatch (Olympic lift).
1. Set-up – Hand Width
Hand width for the overhead squat is best determined by holding the bar in front of the body with arms hanging straight
Slide the hands outwards, keeping the elbow extended until the bar is level with the front of the hips
Note the position of the hands-on the bar (to be referred to as the overhead squat grip)
2. Set-up
Squat rack bar supports are set below shoulder height so that the bar can be collected in a strong quarter squat position
Clips or collars are used with bumper plates
3. Collecting the bar
Facing into the rack, place hands around the bar in a claw grip, equidistant from the centre and just outside shoulder-width
Keeping a strong grip, move in underneath the bar so that the hips and knees are flexed in a quarter squat position, with feet approximately hip to shoulder distance apart. The bar is now resting evenly across the upper trapezius muscles, below the prominent C7 vertebrae
Stand upright to lift the bar clear of the rack and step backwards away from the uprights
4. Start Positon
In the back squat start position, move the hands to the overhead squat grip
Using assistance from the hips and knees in a ‘push press action’, drive the bar overhead, to a point above or slightly behind the crown of the head aligned with the centre of the feet
Elbows should be fully extended and pointing down the length of the bar
5. Descent
Heels should be shoulder-width apart and feet pointed out slightly
In the top position, hips and knees are fully extended and the trunk is upright, with the gluteus maximus, quadriceps and muscles of the trunk braced under the load
Inhale and brace the trunk, then flex the hips and knees simultaneously into a squat position
Keep the elbows fully extended and pointing down the length of the bar
The bar should remain above or slightly behind the crown of the head
Knees should track in the direction of the feet and the weight should move from mid-foot towards the heels
The trunk should be as upright as possible throughout the movement with a normal lumbar curve evident in the back
6. Bottom Position
The bottom position is reached when the midpoint of the hip is just below the midpoint of the knee*
The trunk should be as upright as possible with a normal lumbar curve evident
The weight should be towards the heels
* When participants cannot achieve full depth, coaches should encourage them to squat as deep as is manageable, maintaining an upright trunk position with natural lumbar curve. Knees track in the direction of feet and weight distribution through the heels
7. Ascent
Drive through the heels extending at the hip and knees simultaneously, to return to the standing position
The trunk should be as upright as possible throughout the movement with a normal lumbar curve evident in the back
Keep the elbows fully extended and pointing down the length of the bar
The bar should remain above or slightly behind the crown of the head and aligned over the centre of the feet
Knees should track in the direction of the feet, equal weight distribution on both feet
Exhale at the top of the lift
Pause in the top position, inhale and repeat for the required number of repetitions
As participants gain confidence and experience in the lift, the intention will be to make the ascent increasingly explosive in intent
8. Racking the bar
Lower the bar behind the head under control to rest on the upper trapezius
Slide the hands into the narrower back squat position
Walk into the rack, position the feet bilaterally and then lower carefully onto the bar supports in a strong quarter squat position
Release and step out from underneath the bar
Common Errors:
Poor trunk alignment
Bar falls forward
Excessive shoulder extension and trunk flexion and/or internal rotation
Poor knee and ankle alignment
Elbow flexion during the descent and/or ascent
Reduced range of motion through lower body action
Asymmetrical movement
Phase
Joint
Joint Action
Major Muscles
Contraction
Downward
Hips
Flexion
Gluteus maximus
Eccentric
Hamstrings
Eccentric
Knees
Flexion
Quadriceps
Eccentric
Hamstrings
Eccentric
Ankles
Dorsiflexion
Gastrocnemius
Eccentric
Soleus
Eccentric
Shoulders
Abduction
Deltoids
Isometric
Elbows
Extension
Triceps brachii
Isometric
Trunk
Trunk alignment
Erector spinae
Isometric
Rectus abdominus
Isometric
Obliques
Isometric
Upward
Hips
Extension
Gluteus maximus
Concentric
Hamstrings
Concentric
Knees
Extension
Quadriceps
Concentric
Hamstrings
Concentric
Ankles
Plantarflexion
Gastrocnemius
Concentric
Soleus
Concentric
Scapula
Retraction
Rhomboids
Isometric
Trapezuis
Isometric
Shoulders
Abduction
Deltoids
Isometric
Elbows
Extension
Triceps brachii
Isometric
Trunk
Trunk alignment
Erector spinae
Isometric
Rectus abdominus
Isometric
Obliques
Isometric
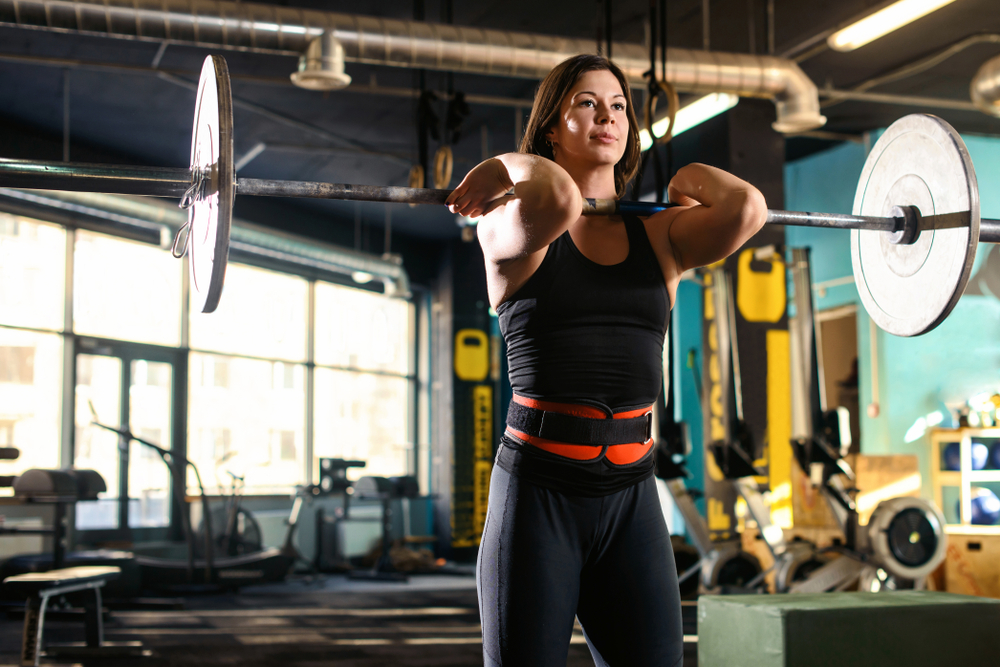
Front Squat
The front squat also develops lower body strength and mobility in the hips and ankles. Due to the change in the loading position, there is an increased emphasis on using the quadriceps to perform this lift, as well as maintaining postural integrity around the trunk. Of further benefit, the front squat teaches athletes the required position when learning how to ‘catch the bar’ during the clean (Olympic lift).
1. Set-up
Squat rack bar supports are set below shoulder height so that the bar can be collected in a strong quarter squat position
Clips or collars are used with bumper plates
2. Collecting the bar
Facing into the rack, place hands around the bar in a claw grip, equidistant from the centre and just outside shoulder-width
Move-in underneath the bar so that the hips and knees are flexed in a quarter squat position, with feet approximately hip to shoulder distance apart. Relax the grip and flex the shoulders so that the bar is resting evenly across the anterior deltoids, with fingers under the bar just wider than shoulder-width
Stand upright to lift the bar clear of the rack and step backwards away from the uprights, keeping the elbows pointing forward
3. Start Position
Heels should be shoulder-width apart and feet pointed out slightly
Hips and knees are fully extended and the trunk is upright, with the gluteus maximus, quadriceps and muscles of the trunk braced under the load
4. Descent
Inhale and then flex the hips and knees simultaneously, lowering the barbell under control
Keep the elbows high and the barbell resting on the front of the shoulders
Knees should track in the direction of the feet and the weight should move from mid-foot towards the heels
The trunk should remain as upright as possible throughout the movement with a normal lumbar curve evident in the back
5. Bottom Position
The bottom position is reached when the midpoint of the hip is just below the midpoint of the knee *
The trunk should be as upright as possible throughout the movement with a normal lumbar curve evident in the back
* When participants cannot achieve full depth, coaches should encourage them to squat as deep as is manageable, maintaining an upright trunk position with natural lumbar curve. Knees track in the direction of feet and weight distribution through the heels
6. Ascent
Drive through the heels extending at the hip and knees simultaneously, to return to the standing position
The trunk should be as upright as possible throughout the movement with a normal lumbar curve evident in the back
Keep the elbows pointing forwards and the barbell resting on the shoulders
Knees should track in the direction of the feet, equal weight distribution on both feet
Exhale at the top of the lift
Pause in the top position, inhale and repeat for the required number of repetitions
As participants gain confidence and experience in the lift, the intention will be to make the ascent increasingly explosive in intent
7. Racking the bar
Keep the elbows high and the barbell resting on the shoulders, walk into the rack, position the feet bilaterally and then lower carefully onto the bar supports in a strong quarter squat position
Release and step out from underneath the bar
Common errors
Bar set at an inappropriate height
Holding the bar in the hands, rather than resting on the front of the shoulders
Forward trunk lean and/or spinal flexion
Elbows lower excessively during the movement
Poor knee and ankle alignment
Limited range of motion in the descent
Asymmetrical movement
Phase
Joint
Joint Action
Major Muscles
Contraction
Downward
Hips
Flexion
Gluteus maximus
Eccentric
Hamstrings
Eccentric
Knees
Flexion
Quadriceps
Eccentric
Hamstrings
Eccentric
Ankles
Dorsiflexion
Gastrocnemius
Eccentric
Soleus
Eccentric
Shoulder
Flexion
Detoid anterior
Isometric
Trunk
Trunk alignment
Erector spinae
Isometric
Rectus abdominus
Isometric
Obliques
Isometric
Upward
Hips
Extension
Gluteus maximus
Concentric
Hamstrings
Concentric
Knees
Extension
Quadriceps
Concentric
Hamstrings
Concentric
Ankles
Plantarflexion
Gastrocnemius
Concentric
Soleus
Concentric
Shoulder
Flexion
Detoid anterior
Concentric
Trunk
Trunk alignment
Erector spinae
Isometric
Rectus abdominus
Isometric
Obliques
Isometric
That is just three versions of one exercise, with one piece of equipment. There are thousands more.
An S&C coach needs to focus heavily on ‘how’ and ‘why’, rather than just ‘what’ their athletes do.
Prescribing one group of exercises, in one particular way is just not going to be effective enough to make the miniscule differences between first place and everyone else. Even if your clients aren’t competing at the Olympics any time soon, they will still benefit from a more thorough, more specific, and more effective personal training programme.