
Extract adapted from: Back Exercise by Brian Richey
Use your exclusive Future Fit discount to receive 20% off Human Kinetics books. Want to receive this discount? Discover our training courses today.
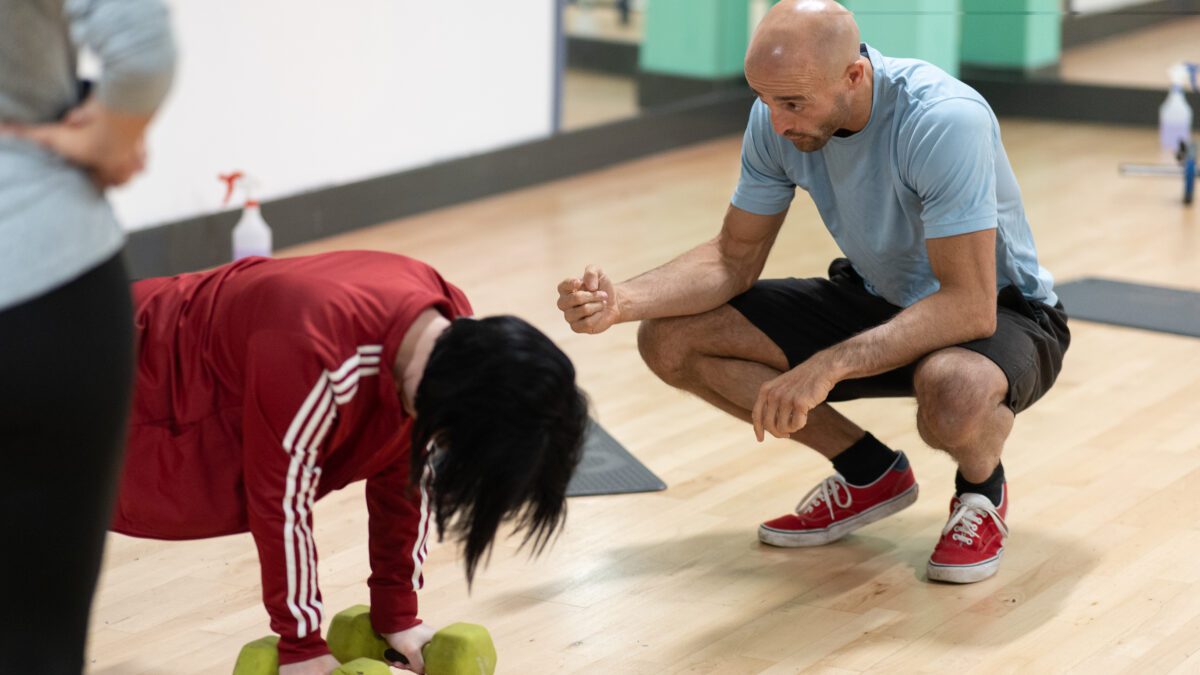
The 5 example exercises found below take place in the 1st month of a 12-month exercise program. These exercises will work best for those who are not in an acute state of low back pain. If you are experiencing spasms or having extreme low back pain, wait until the symptoms have subsided a bit before starting. If you have already seen a physician or physical therapist, and need a strengthening or maintenance program that will help to prevent future episodes, then these exercises are for you. Again, we don’t recommend that you begin these exercises while you’re experiencing back spasms. The exercises will be counterproductive; you need to be patient and wait until things have relaxed a bit. Then the exercises will have much greater benefit.
Keep in mind that not all exercises are meant for everybody. There may be an exercise that works well for one person but may cause another person significant discomfort. Simply stop and avoid the exercise that hurts. Return to that exercise later in the month or even the following month to see if you have become strong enough to do it without pain. There may be an exercise that you will never be able to do, and that’s okay. If you cannot perform this one exercise, it will not make or break your success. Do the ones that don’t cause you pain.
Let’s discuss what kind of pain is okay and what kind is not. On a scale of 1 to 10, with 1 being no pain at all and a 10 being the worst pain you can imagine, where would you rank your pain as you perform an exercise? If it is a 1 to a 3, it is okay to work through it. This would include some mild discomfort. However, if the pain is severe, don’t perform the exercise that day. Let it go for the day, and move on to the next exercise.
Before You Begin: Finding Neutral Spine and Engaging Kegels
Neutral spine applies specifically to your nonspecific low back pain and the exercises prescribed in the following program. When talking about low back pain, neutral spine is the spinal position you can maintain with little to no pain. The following exercises should be performed in a pain-free neutral spine.
The clinical definition of neutral spine is the position in which the anterior superior iliac spine is on the same plane as the posterior superior iliac spine. While those anatomical landmarks mean something to many healthcare professionals, they don’t translate nearly as well to the general population. For the rest of us, neutral spine is the position in which your spine has the least amount of stress on it, where the curves of the cervical, thoracic, and lumbar regions support each other and are able to cushion the spine optimally. We will focus primarily on the lumbar spine, but remember that if you change the angle of one region, the others will also change, for better or worse.
Try to think of a traditional neutral spine as having not too high of an arch in the back and not too little. If you are lying on the ground, place your hand under the low back. Is there a lot of space? If it represents the Golden Gate Bridge rather than a footbridge over a small koi pond, then it’s too big. You need to bring your ribs down a bit toward your hips and flatten out your back a little. If this is uncomfortable for your head and neck, and results in a large arch in your neck, put a pillow or rolled-up towel under your neck to keep it as neutral as possible as well. Alternately, if your back is completely flattened to the floor, this isn’t ideal either. There should be a little bit of an arch, high enough so that your fingers can get under your back but not your whole hand, and definitely not your whole fist. If this traditional neutral spine is uncomfortable or causes pain, modify the position so that it feels comfortable. As you become stronger, try to get closer to the traditional neutral spine position.
You will see that your first exercise in month 1 is to find your neutral spine and maintain it.
5 example exercises from Month 1 of a 12-month program:
| 1. Neutral spine and Kegel
|
Hold for 30 seconds
|
Lie down (supine) on your back in a position that produces little to no pain, or such that the pain subsides as you continue relaxing on your back. Next, find your Kegel muscles. These are usually described as the muscles that help to hold back a stream of urine. They are your pelvic floor muscles, a muscle group that comprises part of your inner core, and they should be slightly engaged during these exercises. Don’t grip them hard, just a light hold: think 30 percent of your maximum. Hold for about 20 to 30 seconds. As you become stronger, it will become easier to maintain. Focus on keeping the pelvic floor muscles engaged throughout each exercise. It may not be easy, and you may forget. Once you can find neutral spine and engage the pelvic floor muscles, it’s time to move on to the exercises. |
| 2. Bent-knee fallout
|
2 sets of 10 reps on each side
|
Objective:
To create spinal stability while moving the hips. Keep the pelvis level and stable, not allowing it to twist from side to side. Starting Position: Lie on the back with the knees bent at 90 degrees and feet flat on the floor (a). You can place the hands on the hip bones as a feedback device. Movement: Slowly drop one knee out to the side and toward the ground, more slowly than you think you should (b). Let the foot rotate with the knee; it doesn’t need to stay flat on the floor. Most people only get to about 30 degrees to 45 degrees before their pelvis begins to move. That is where to stop, then slowly bring the knee back up to the starting position and repeat with the other side. How far the knee travels doesn’t matter for now. Over time, you will gain a greater range of motion while keeping the spine still. You know you are going slow enough when there is some “chattering” in the leg muscles. This is a good thing. This means that the smaller muscles of the pelvis are firing. If you go too fast, you will bypass these smaller (stabilizing) muscles and only use the larger (mobilizing) muscles. |
| 3. Heel slide
|
2 sets of 10 reps on each side | Objective:
To create spinal stability while extending the legs. Keep the pelvis level so that it does not tilt while extending the legs. Do not arch or flatten the back at all during this exercise. Maintain a neutral spine. Starting Position: Lie on the back with the knees bent at 90 degrees and feet flat on the floor (a). This exercise is best done on a surface where the feet will slide. Movement: Slowly extend one leg forward by sliding the heel along the surface as far as possible without losing a neutral spine (b). The foot doesn’t need to stay flat on the surface; only the heel needs to remain in contact. You may be able to extend all the way or only get halfway, and that’s okay. When you’ve gone as far as possible without changing the spinal angle, return to the starting position and repeat on the other side. |
| 5. Lying overhead reach (single- or double-arm) | 2 sets of 10 reps on each side (alternating) | Objective:
To create spinal stability while lifting the legs. Maintain a stable spine to keep the pelvis from twisting or tipping forward or back. Don’t let the pelvis tuck, tilt, or twist. Starting Position: Lie on the back with the knees bent at 90 degrees and the feet flat on the floor (a). Movement: Lift one knee so the thigh is perpendicular to the ground (b). Return the leg to the ground and repeat on the other side. While this seems easy enough, in all my years I have only had a couple of people do it correctly the first time. On the next repetition, be conscious of what the resting leg is doing. It should be resting, yet most people tend to push down with that leg to use the leg muscles to stabilize the pelvis and spine rather than using the core. I want you to focus on keeping the resting leg relaxed and make sure it does not push down as you lift the active leg. If you do it correctly, you should feel the additional engagement of your abdominal (core) muscles. You will alternate legs, each time relaxing one leg while engaging the other. |
| 5. Lying overhead reach (single- or double-arm) | 2 sets of 15 reps on each side. For low back pain, do either the single- or double-arm version as long as you maintain good posture and don’t arch the back.
|
Objective:
To move the arms overhead without arching the back. Make sure to do only what is achievable without arching the back. The reach of the extension isn’t as important as maintaining a neutral spine throughout the exercise. Starting Position: Lie on the back with the spine in a neutral position and the arms straight out in front of the chest (think of a zombie from a 1950s movie) (a). Movement: While keeping the spine neutral, slowly move one arm (or both if doing a double version) back over the head without arching the back (b). Return the arm to the starting position and repeat with the other arm. |